- menu File / New / Web Site
- Choose 'Personal Web Site Starter Kit' to see sample Web application created using ASP.NET
- Note the 'Location' option on the 'New Web Site' window
- File System - the Web application will be created in a folder on your local or a remote computer. The built-in Visual Studio Web server will be used to serve the application (unless the IIS is configured).
- HTTP - the files are stored under the Web application root (typically, Inetpub/wwwroot). IIS (Internet Information Services) will be used as a Web server (it must be installed in the system).
- FTP - the FTP protocol will be used to store source files.
- Take a look at files generated by Visual Studio
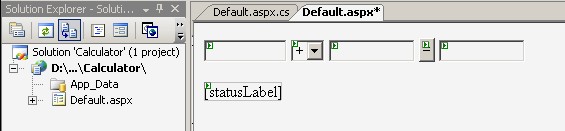
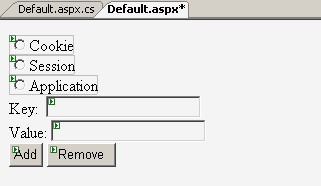
- .aspx files
- Double click the .aspx file in the 'Solution Explorer' window to see the source (HTML code + server controls).
- Click the 'Design' button to see the Design view
 .
Note all possibilities of visual edition of aspx files (e.g properties,
events, the 'Tasks' window, etc.).
.
Note all possibilities of visual edition of aspx files (e.g properties,
events, the 'Tasks' window, etc.). - Right click on the file in the 'Solution Explorer' window and choose 'View Code' to see the source code for the page, written in C# (according to rules of so-called Code-Behind model), or expand the '+' sign in the tree presented in the window.
- Normal folders
- Normal folders can be created in the 'Solution Explorer' and are represented as folders on the disk.
- They allow to use special credentials for some parts of the application, e.g. the content in the 'Admin' folder is available only for members of 'Administrators' group (try to find appropriate setting in the web.config file).
- Special folders (with the 'App_' prefix)
- 'App_Code' - a place for source code for utility classes and business objects that should be compiled as a part of your application.
- 'App_Data' - a place for data files (XML files, MS Access databases, SQL Server database files, etc.).
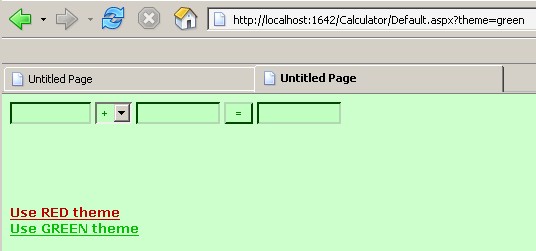
- 'App_Themes' - contains a collection of files (.skin and .css files, as well as image files and generic resources) that define the appearance of ASP.NET Web pages and controls.
- .css files
- Double click the file to see its source code.
- Right click on a defined element and choose 'Build Style' option - note very functional editor of CSS styles (built-in feature of Visual Studio).
- New CSS elements can be added using the 'Add Style Rule' option.
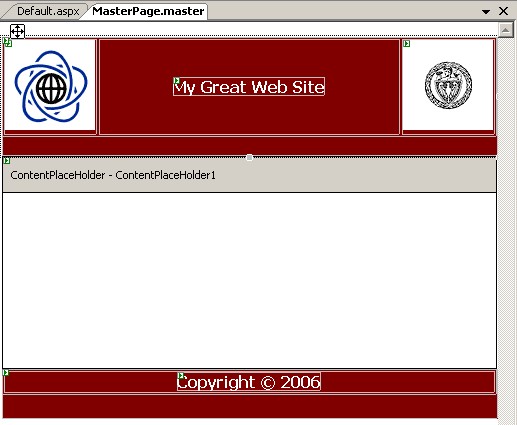
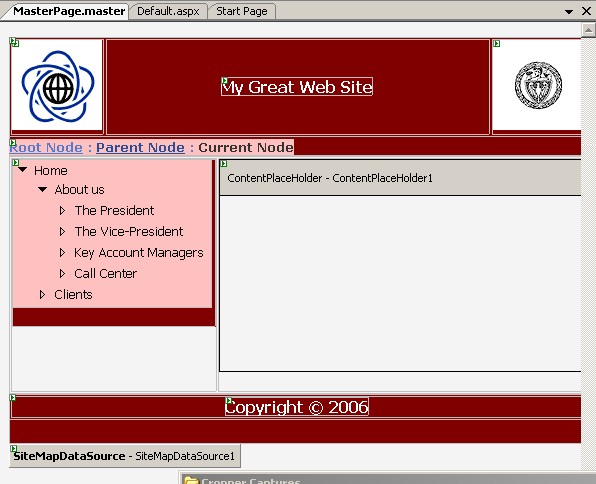
- Default.master - it is a master page
- A single master page defines the look and feel and standard behavior that you want for all of the pages (or a group of pages) in your application.
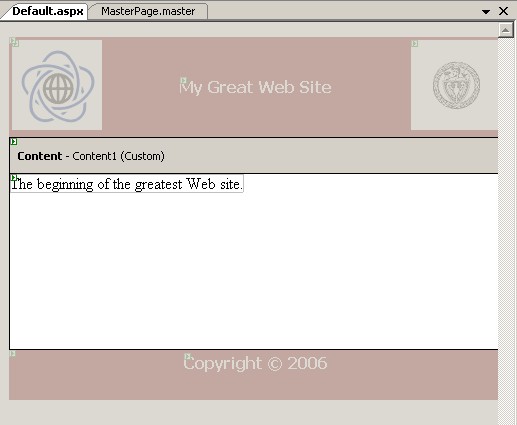
- Elements of the master page can be edited as elements of normal pages, but changes will be visible on all pages which use this master page (i.e. all pages which have 'MasterPageFile="~/Default.master"' phrase in the @Page directive).
- Global.asax - it is the file in which code executed for application's events
should be placed.
- In the sample project one event, Application_Start, is handled.
- Handler.ashx - a generic handler file that contains code that implements the IHttpHandler interface to handle all incoming requests.
- web.config - the configuration file
- Web.config files can appear in multiple directories in ASP.NET applications.
- web.sitemap - a file with the content of the Web site.
- It is used by the site navigation system to create navigation menus or trees.
- In the sample project this file is used by the SiteMapPath control placed on the master page.
- .aspx files
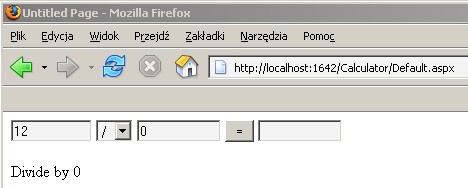
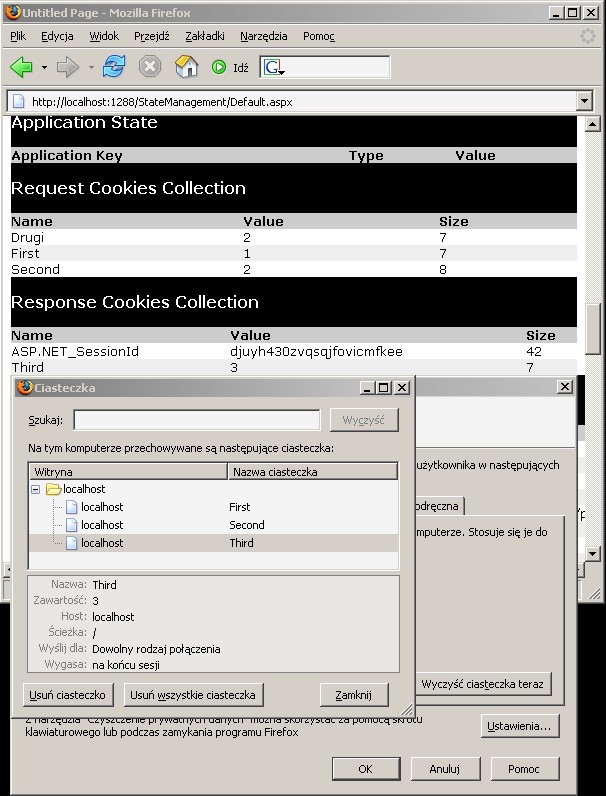
- Compile and run the project.
- Please note that 'ASP.NET Development Server' runs and is visible as an icon in the tray area. It allows to run ASP.NET Web projects on systems where IIS (Internet Information Services) is not installed.
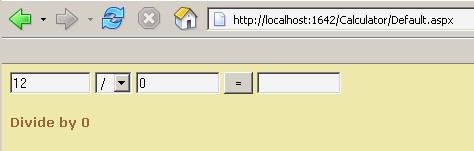
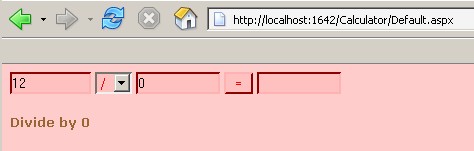
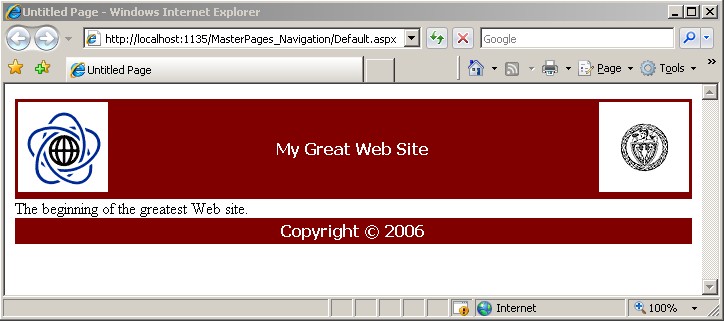
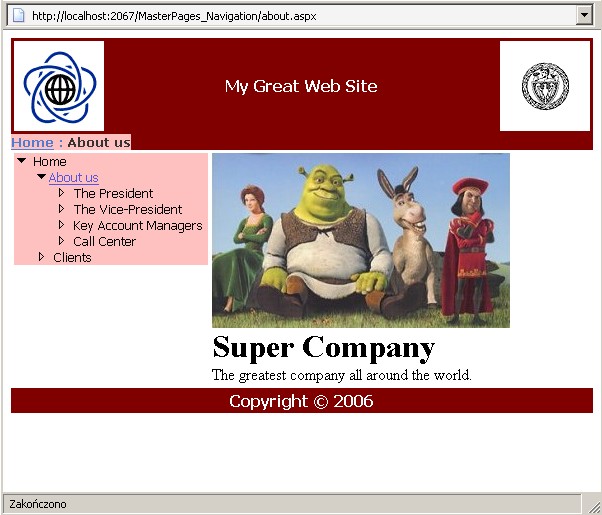
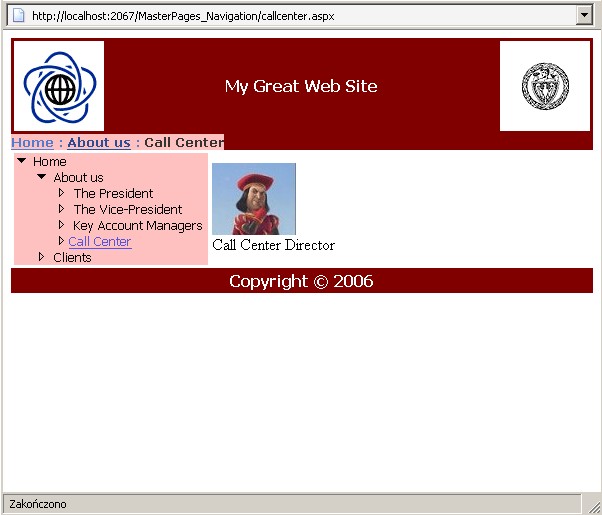
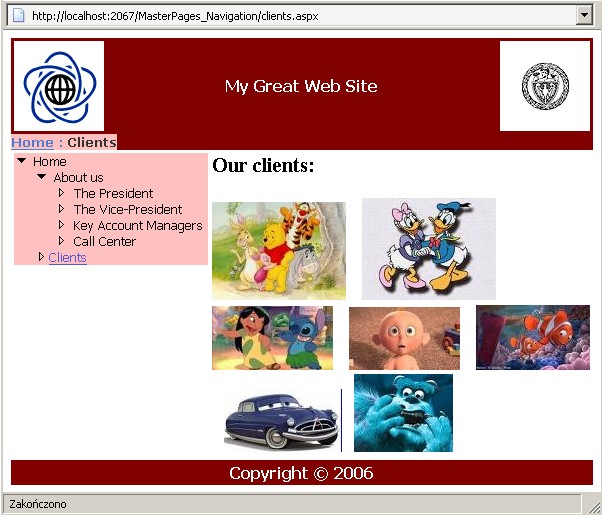
- The default browser is run and the start page of the project is displayed (you can change the start page in the 'Solution Explorer' window using right mouse click and choosing the 'Set As Start Page' option).
- Take a look at the source of the page displayed in the browser, compare it with the source code visible in Visual Studio. Note, that all server controls (with <asp: prefix) has been rendered as standard elements of HTML.